I had lusted after the cool string art on Pinterest (I have a whole string art for kids board here with ideas) for a long time. And with my husband home and me really thinking about what I wanted to do with my kids this summer, I came up with string art. I thought it would bring a lot of skills that I’d like my kids to learn to the table.
And I am SO glad I did. The finished products are awesome!
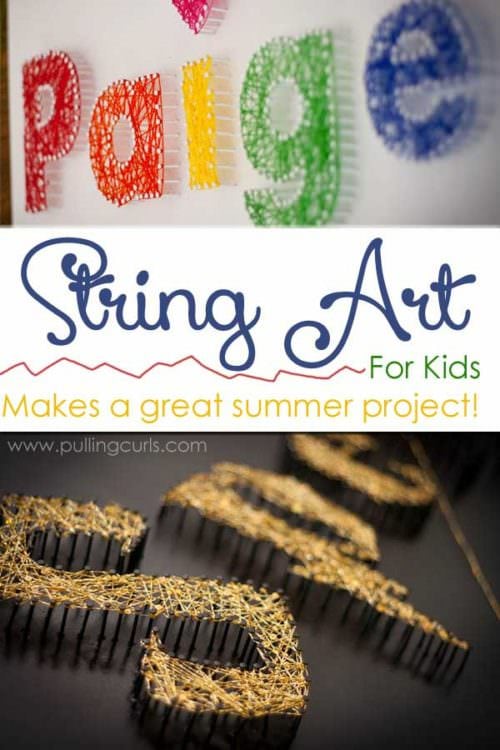
Here’s what you’ll need to make string art for kids:
- MDF cut to size
- A Printer (if you plan to do words, — you could also totally freestyle it)
- Nails (we used particle board nails — real tiny ones)
- Drill (optional, but nice)
- Spray Paint
- Embroidery Floss (or threading of choice)
Ok, first off we looked at my Pinterest board to see what they wanted to do. After checking out a lot of different options, they both went with their names.
Then, we printed it out using Publisher printing as a banner. have in mind what size you’re aiming for. We had no particular constraints as they all have a decent chunk of wall space that they could use. I wanted it to be big and bold, because I thought it would: A) take more time and B) be more fun when it was done. 🙂
Microsoft publisher is extra nice as you can adjust the kerning (or the spacing in between the letters) to be as you’d like it. Extra loose should be fine unless you want it even father apart. You certainly don’t want them too close together. Makes it hard to string as well as differentiate between the letters.
We printed off the text and then laid it out to see what spacing we’d like before and after. I probably went a bit large, but it’s better than going too small, am i right?
After we knew our measurements we went to HomeDepot to cut wood for it. We ended-up going with MDF because it was cheaper, but with older kids I think it would be fun to sand it and stain it (also MDF sucks in paint like the dickens, just FYI — more about that later). BUT, MDF is easy to sand and is nice and smooth, it worked out fine. Also, at Home Depot they will cut the MDF to the size you need (you just have to pay for the whole board). It was under 7 dollars for the MDF and we were able to get a few cuts off that one board (we have 2 other pieces if the kids want try a new one — and P totally does).
We brought the boards home (keep in mind all of these are about a day for each step, but I will pretend here like we did it all at once, but this project is VERY easy to do over days of time), and sanded them. The kids did this with my husband while I was at work and I understand our kitchen was FILLED with sawdust. I’d recommend doing it outside if it’s not an inferno.
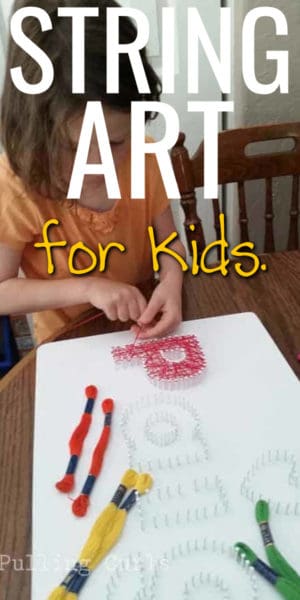
Then, lay your letters down.
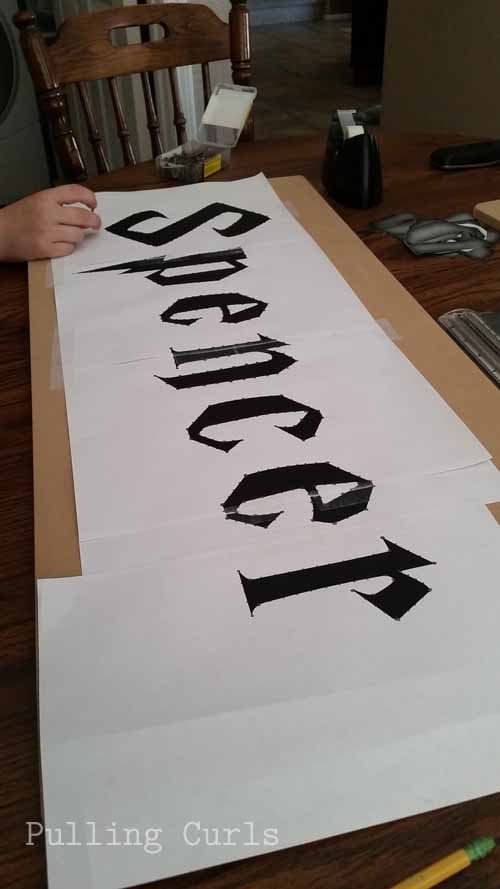
At that point we made dots where we wanted to put the nails in. I’d recommend somewhere between 1/2 to 1/4 inch apart. P’s were more spread out because her letters are larger and block-like. S’s are closer together because of all the nooks and crannies he wanted (what movie does his make you think of — hint: it’s his favorite book series of ALL time!).
Most of the tutorials had you just hammer in the nails at this point — which we did initially on S’s R, but the R ended-up looking sort of wonky (although can’t really tell now) and he had a REALLY hard time doing it on his own without the pre-drilled holes. So, instead we drilled holes (with the tiniest drill bit you can find) and that made it REALLY easy to both hammer it in and get the nails straight. Also, the kids got to try out the drill (and one child, who shall remain nameless, got to break a bit). Make sure you set your drill bit to the depth you want (less than the width of your board) so you don’t accidentally dril out of your board — we did about 3/4 of the board width.
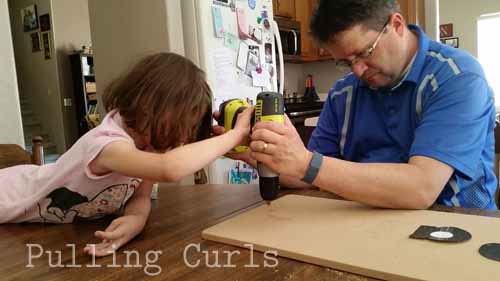
(BTW, I had the kids cut their letters out, although I wouldn’t do that again — see how lucky you are to learn from my errors!)
And then just get in there and start hammering!
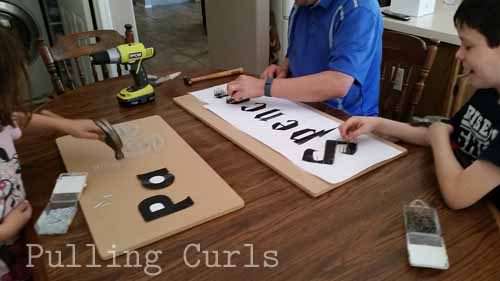
My husband (who did more hammering than me) thinks it’s easier to hammer them in every other one and then go back and do the other ones. I have no idea why — but there that tip is. 🙂
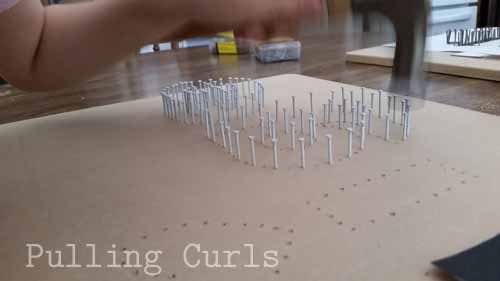
Sometimes P would just sit at the table for a few minutes and feel the tops of her nails. They actually do feel really cool! With the drilling it makes the nails all go in to just the right spot. She also found a great love of hammering things!
And again, all this noise could go outside if you weren’t living in Phoenix. 🙂
So, then you have all the nails in…
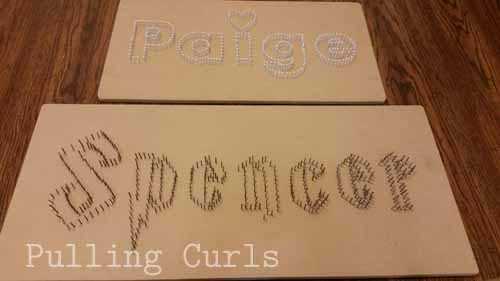
Now it’s time to paint. And, of course, our kids couldn’t agree on that either. So one’s black and one’s white.
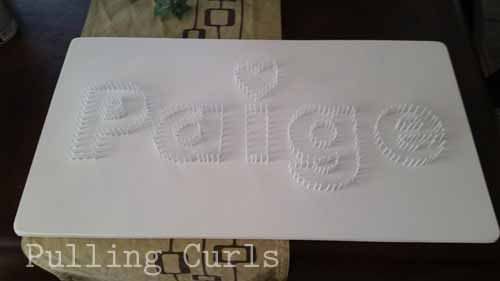
We got full cans at Hobby Lobby of a glossy paint. The MDF just SOAKS it in. We ran out of paint on each one. I actually ended-up wishing we’d bought sample paint at Home Depot and used my paint sprayer, but live and learn. The spray paint looks a little splotchy, and I know the paint sprayer will give it a nice, even coating. P actually loved it enough that she is hoping to do another one sometime soon.
Then, it’s time to start stringing.
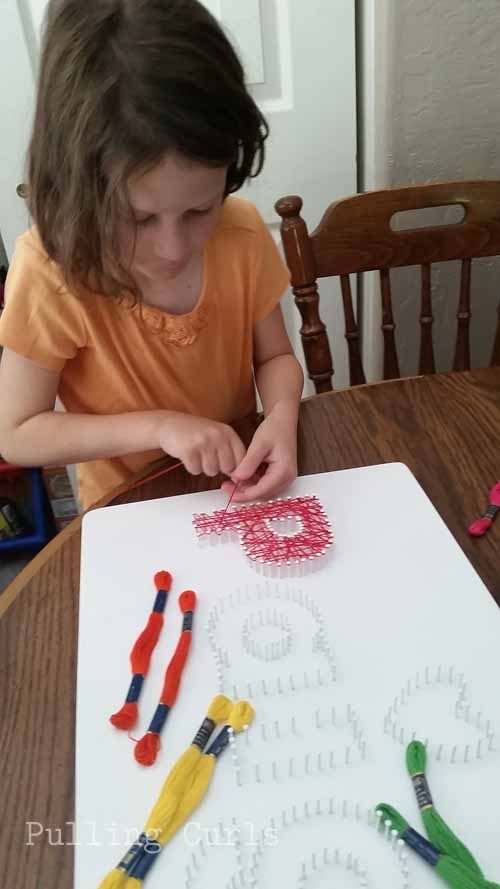
We chose to do them totally random, but if you look online you can see there’s a lot of cool patterns and ways to do it. I just wanted the kids to have fun.
This picture is a little blurry (although shows off the cool thread that S got), but it shows you just tie it onto a nail. We read that it was easier to do it on a corner.
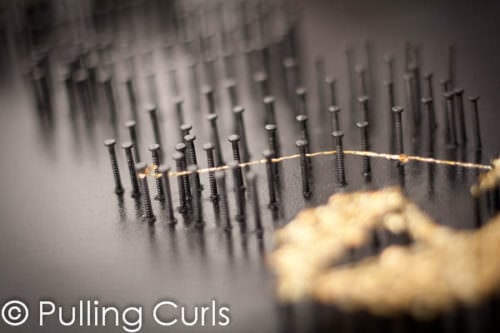
And then they just do it. Both kids did really well. Very little help from adults except for the tying on and off. S’s thread is particularly hard because he has little sequins every so often, plus his thread is really thin. But, very doable by an adult. S is going to outline his in a silver thread (his is taking much longer — I hope to give a picture with the finished product soon) and just outlined each letter in the thread he’d chosen before tying off.
They each LOVE how they look. Super proud of the cool project they did and the new skills they learned. I totally recommend trying it out at your house!
If you liked this post, be sure to sign up for my newsletter! And then check out all my other MomHacker posts below that!
[pt_view id=”a38f28df64″]



Jennifer says
Directions???
Hilary says
Maybe you missed the “read more” button? There’s plenty of instructions!
Jennifer says
Once I got on my laptop I saw them. When I was on my phone, everything was covered by ads. Cool project!
Jennifer says
Awesome!! Thanks for sharing! 🙂
Hilary says
Hmm… both got sent. Maybe check your spam folder for the other one?
Peggy says
What is the size of the letters? Thanks for sharing
Hilary Erickson says
Ours are about 4 inches, although my son has a longer name and his letters are a bit smaller….