Is there anything worse than heading into school with your new backpack, notebook, pencil case, water bottle — and finding out EVERYONE in your class has the SAME ONE!

Well, as a mom I shop at Costco & other big box stores for our school supplies, but that can lead to duplicates. When I saw these great kid’s water bottles I knew there would be plenty of them in class.
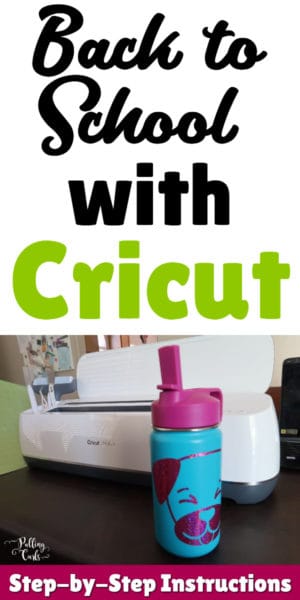
BUT, I also knew I could personalize it so my daughter wouldn’t get confused or feel bad that hers was the same. Because, of my Cricut Maker.
And yes, like always — I was a little nervous things wouldn’t work like I planned — but BOOM. It was so simple!
FYI, This is a sponsored conversation written by me on behalf of Cricut. The opinions and text are my own.
I think my video speaks for itself, and we’re going to go through EVERY step:
Supplies to personalize:
- Item to personalize — for us, it was a water bottle
- Permanent Vinyl (don’t get removable or iron-on) — we used this one
- Transfer Tape
- Something to help rub the vinyl or transfer tape (credit card, pen cap, embosser)
- And, of course — the Cricut Maker (or any of their Explore machines)
If you haven’t used regular vinyl (vs the heat transfer vinyl) — it does NOT have a transfer sheet attached to it, like HTV does. SO, you need to apply transfer tape — and we’ll talk about that!
It really is this simple:
- Find a font your child likes for their name
- Add an image for “extra credit”
- Cut the image using your Cricut
- Cut off the excess vinyl
- Weed the vinyl you won’t be applying
- Rub transfer tape over the vinyl
- Pull up the transfer tape (if it isn’t grabbing what you need, you can re-rub the area to “grab” it)
- Apply the transfer tape/vinyl to the item of choice. TRY to get it set the first time you place it as it will be problematic to pull it up.
Now, if it was only this easy to make teenagers happy — AM I RIGHT?
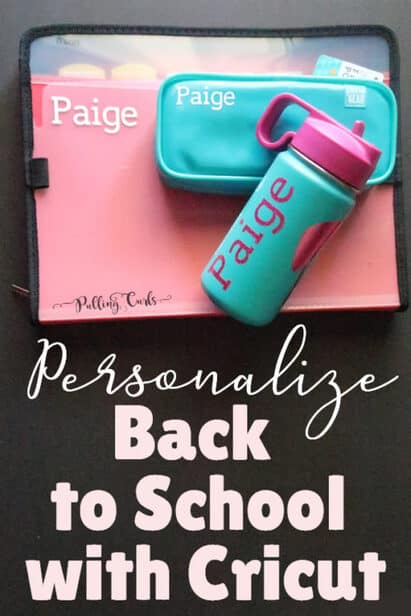
Once we had the maker out, I also did some folders and personalized her pencil case. This time I used the glitter vinyl. FYI, you have to use the extra tacky transfer tape to transfer to the item. But, it works just the same way!

**Pro tip: The main “hard” thing about this is getting the transfer tape to grab hold of the vinyl initially, and then let go of it on the product. Just keep rubbing. I find that fingers and finger nails are the most effective, but you can also use:
- Credit Card
- Mechanical pencil tip (with no lead out)
- Cricut tools like their scrapers

If you like this post, be sure to sign-up to hear about my next ones, and check out my other crafty posts below that!


Leave a Reply