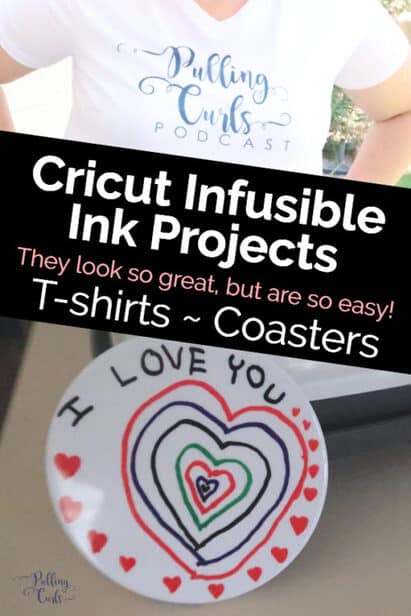
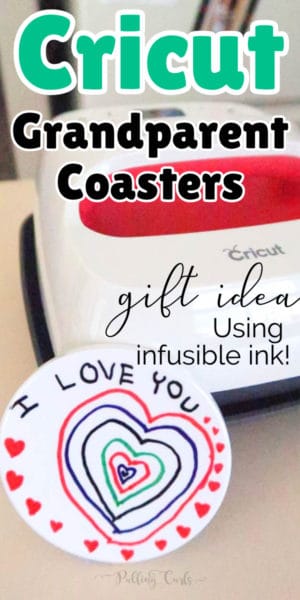
When I first Cricut’s infusible ink I was just SO excited. The idea of a PERMANENT solution to the personalization is SO exciting. I had a couple of projects in mind that I wanted to share with you guys!

This is a sponsored conversation written by me on behalf of Cricut. The opinions and text are all my own.
Ok, the first one — which I am sure comes as no surprise to loyal readers was a T-shirt to promote my newest project! The Pulling Curls Podcast.
I thought it would show you guys how easily you can promote your business or social media with a T-shirt, and it will look SO professional and awesome!

Ok, first, a few tips with the Infusible Ink:
The Maker Makes it SO easy to cut! Of course, it can be cut with any of the Cricut machines, but I can attest that the Maker made quick work of cutting it!
You will need a machine that heats up to 400°. For me, that was using the Easy Press 2. In my perusal of other heat presses, many don’t go that high, but it’s important to get it that high to make sure the ink transfers all the way.
THIS IS PERMANENT. So, day after day — wash after wash, this design is going to “stick” with you {see what I did there}. It feels like part of the shirt. It’s amazing.
Thanks to the Maker, it’s hard to realize that I MADE this shirt now that’s done. Looks totally professional. Which, is the look I want for my business. 🙂
Creating an Infusible Ink T-shirt
Supplies Needed to make an Infusible Ink T-Shirt
- Cricut T-shirt (I found that these ran a bit small, but they are super comfy)
- Cricut Maker
- Infusible Ink Transfer Sheets
- Easy Press 2 (or a heat press that goes to 385 degrees)
- Easy Press Mat (you can’t use a towel for Infusible inks)
- Lint Roller — just to get off any fuzzies that will prevent the transfer
- White Cardstock
- Butcher Paper (comes with the transfer sheets)
- Computer, Laptop or ipad to use the design studio and make your image
I’m gonna share exactly how to do it in this video:
Tips for Infusible Ink Transfer Sheets:
The transfer sheet isn’t very sticky. I’d hoped to cut one day, and press the next, but stuff was already popping off, so I would recommend to press it THAT day. I bet you could wait, but my design was so intricate, I decided to go ahead and do it.
It goes without saying, but make sure your heat press covers the whole design. I didn’t get all of the crazy curls and some I had to re-heat. You actually can’t tell a difference now, but initially, I could.
The inks are certainly MUCH brighter on the shirt than they are on the transfer sheet, so don’t be disappointed when you open them.
I actually felt like the inks brightened up and sort of evened out after a few hours of the ink going on the shirt. It was pretty cool.
Cricut does recommend the best results with their blanks. I guess the T-shirt has the right mix of polyester. I have seen others use other blanks that came out a bit lighter or not as even, just FYI.
The process of using the transfer sheets differs from that of Vinyl. Be sure to use their online guide to heat pressing it!

Making an Infusible Ink Coaster
Cricut has ceramic coaster blanks that are SO cool.
❤️ FAVORITE Disneyland HOTELS of Pulling Curls Readers ❤️
– Portofino Inn & Suites — Walkable at a great price!
– Cambria Hotel – GREAT one for larger parties, and I love their price
– Hampton Inn & Suites Anaheim/Garden Grove – Free breakfast at a great price!
– Hilton Garden Inn Anaheim/Garden Grove – Free breakfast & rave reviews!
We don’t usually have a lot of drinks on tables so I thought I’d make a more decorative one to give my parents for Christmas (because that is one of the more painful parts of the holiday season, for me).
Supplies needed to make an Infusible Ink Coaster
- Infusible Ink Markers (you can also use the Maker to draw a design, but I wanted to see how a hand-drawn piece would work!)
- Easy Press 2 (or a heat press that goes to 400 degrees)
- Easy Press Mat (you can’t use a towel with infusible inks)
- Heat Tape (to tape the image to the coaster)
- Cloth to wipe the blank off before the transfer
- Butcher Paper
- White Cardstock
Here is what I did:
Coaster Infusible Ink Tips:
You HAVE to use the Easy Press 2 because this one goes up to 400 degrees (for FOUR MINUTES) — as per the Easy Press Guide.
Because it’s SO hot — do NOT touch the coaster right away. I actually left, ate lunch and came back. By then it was fine to touch.
Remember, just like the heat transfer sheets — it will be less “bright” when you color it in, but it will be brighter once you heat press it.
And, like I said in the video — be CAREFUL of little hands and fingers when you’re doing these. It’s SO hot and for a LONG time — it would be easy to get lax. That’s the nurse in me talking. 🙂
I am excited to try it with the maker drawing something with the markers. I think this coaster looked great for my parents, but I think a cool Mendala one would be really pretty for a shelf!
If you liked this post, I’d love it if you signed up to see my next project, and check out my other Cricut posts below that:
[pt_view id=”deca5f5rkq”]


Leave a Reply