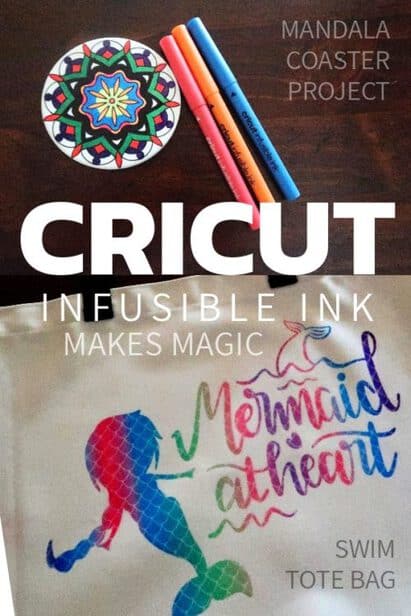
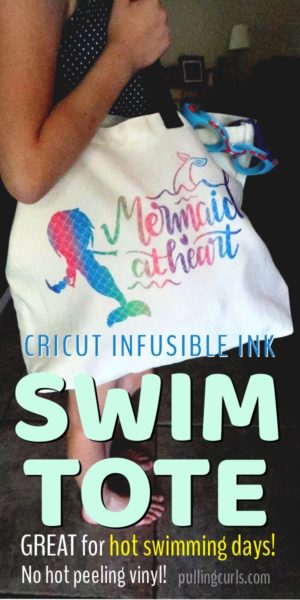
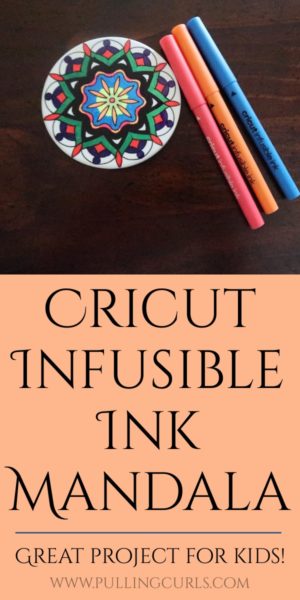
Cricut infusible ink is so versatile, today I am going to make a swim tote bag and a Mandala coaster. You’re going to be impressed with the professional quality of the items we are making!

Disclosure: This is a sponsored conversation written by me on behalf of Cricut. The opinions and text are all mine.
A few weeks ago I made a coaster and a T-shirt using infusible ink. I loved using the ink it was way easier than I thought it would be. But, the thing I MOST love are the results.
But, let’s back up.
Infusible ink is just like it sounds. It’s an INK that is permanent — which means, no flaking, no cracking, no peeling. It’s in the garment/ coaster/ tote bag for good.
A few things to know about infusible ink:
You can use it with the Cricut Maker, or the other Cricut machines. The markers can actually be just using by hand (as I did last time with my coaster). When combined with the Maker it makes such a polished, finished look. It’s impressive!
It is best used with the Easy Press 2. It needs to be heated to a point (especially with the coasters) that an ordinary iron or the regular easy press won’t reach (although there are instructions on doing it with the regular Easy Press — so, it sounds like it’s doable with that as well!).
Cricut recommends that you use their blanks for the Infusible ink. They have the right percentage of materials so that the ink adheres the best.
Ok, so let’s get started. This video is going to show a couple of projects. Then, I’ll share what you’ll need and some process tips for each one below:
Fyi, the tote bag is the first project, and the Mandala project starts at 08:55
Cricut Infusible Ink Swim Bag

Swim Infusible Ink Tote Bag Supplies
- Cricut Maker (or Cricut Explorer Machine)
- Cricut Large Tote Bag Blank
- Cricut Infusible Ink Transfer Sheets
- Cricut Easy Press 2
- Cricut Easy Press Mat
- Cardstock
- Butcher Paper
- Lint Roller
Two-Sided Infusible Ink Tote Bag Instructions:
Being that we live in Arizona and we routinely swim in temperatures over 110, I was worried that vinyl would easily come off an abused swim bag.
BUT, with the infusible ink, it’s set on there — so we can use it without reservation.
Note on the blank: I felt like the Cricut Blank tote bag was SO much softer than the regular canvas ones, so that was nice too! We used the LARGE size (it currently has a Mendala on the front, if you’re looking for it at the store). I am not sure the smaller one would be large enough to hold shoes, coverup, etc.
ALSO, we did BOTH sides of the tote bag, you can see them both in the video.
Note on the transfer sheets: Now that I have worked with the transfer sheets a bit more, I am realizing that it really weeds much more like paper. I find it more dificult to do smaller, intricate designs with it — so that is something to take into consideration.
However, this design was so bold and large my daughter didn’t have a hard time with it at all! Just something I have noticed.
Note on making it two-sided: The EasyPress 2 mat goes INSIDE the tote bag. SO, if you were doing the smaller tote bag, you would want a smaller mat. However, that makes it really easy to not have to worry about the other side. However, when I did the second side, I did put some butcher paper on the counter, just to be safe (as you can see in the video).
Fyi, If you were doing regular Cricut Vinyl 2-sided (I have a post coming about that soon) I would recommend putting some thick cardstock in the middle of it. Just to protect the other side a bit.
Note on “soft” areas: When I pulled up my transfer sheet the first time, I noticed there was an area that was a bit “soft” (it’s all in the video) — so I just replaced it, being sure to line everything up, and re-pressed, for about 30 seconds. I have had this happen a few times, I have no idea why it happens, it seemed like a “clear” area? BUT, you can re-press and try to get the rest of the ink out of the transfer sheet!

Mandala Infusible Ink Coaster Supplies
- Cricut Maker (or Cricut Explorer Machine)
- Cricut Coaster Blanks
- Cricut Infusible Ink Pens & Markers
- Laser Paper
- Heat Safe Tape
- Cricut Easy Press 2
- Cricut Easy Press Mat
Cricut Infusible Ink Mandala Coaster Instructions
It is very similar to the last coaster I made, but this time I wanted to use the Cricut to do the drawing.
There are a TON of mandala designs in Cricut access, so just pick a few favorites and use an Infusible Ink Pen (not a marker, you need the slimmer pen) and have it draw it.
Note on Paper: I tried to find laser printer paper at the store, and had to buy it on Amazon. I am sure it’s at Staples, but Amazon was certainly the easiest for us.
Note on mats: I used a VERY well-used medium gip mat (the green one) and it was still pretty hard to peel off, so I’d recommend using the light grip with the laser paper.
Once it’s off, let your kids (or you!) color it in however they’d like.
Then, follow the instructions with the easy press guide for pressing it onto the coaster. Be sure to use the heat safe tape (I only used two strips because it was small, and the tape is a bit of a bear to peel off.
I used tongs to move it onto a hot pad to let it cool off while I worked on other projects. It stays quite warm for at LEAST a half an hour (because it is ceramic) — so be aware!
If you liked this post, be sure to sign up to hear about my next ones, and check out my other posts below that!
[pt_view id=”deca5f5rkq”]


Nancy Spencer says
Your info regarding not being able to use the original easy press for infusible ink is incorrect. Instructions are on cricut heat transfer guide.
Hilary Erickson says
Huh, I don’t have the original. It may still work for the T-shirts, but not the coasters?
Huh, I just looked at it and they have said time and time again you need the Easy Press 2 — but there is a lower temp with the Easy Press 1. Good to know!