Having some matching shirts makes Disneyland even more fun. They’re great for families, couples or even a friend trip, which is what I used mine for (although I have my eyes on a few in here to make for our next family trip).
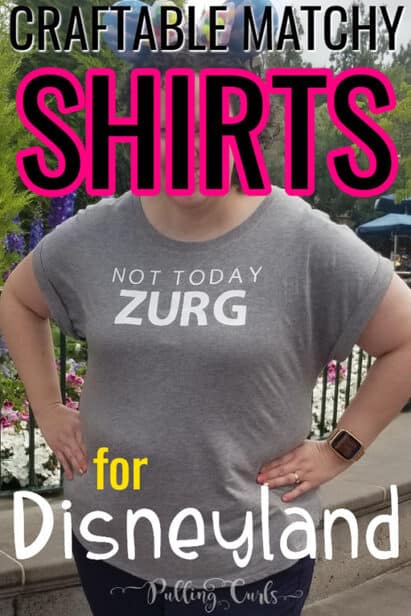
For my girls trip we wanted to get some matching shirts, but, our group had stipulations:
- Nothing too cheesey
- Something easy to Design
- Nothing too hard to weed (my issue since I was the one using my Cricut Maker to do them).
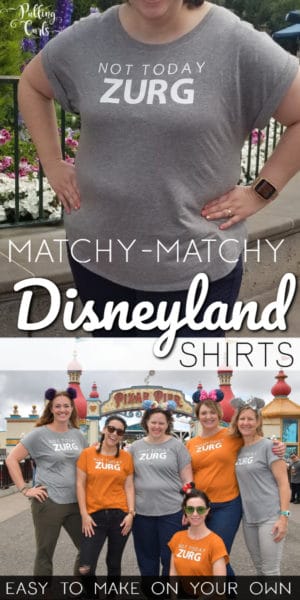
We came up with this design and it hit all three:
It’s certainly not cheesey, although a few of our less-Disney-fied members didn’t know who Zurg was (?)
- It was just fonts, so it was easy for me to make
- Because it was so horizontal and not very long, I could stack mutiples on a sheet of vinyl (or, if you have the long vinyl mat, you could do them all together). Super simple!
BTW, we found this design on Pinterest, but there are a ton of similar designs on Etsy you can buy straight from there.
Project supplies:
- Cricut Maker (you could also use any cutting machine, I just used the Maker — and you can get the design here in the Cricut design space if you want it).
- Iron-On Vinyl (I used Cricut Brand, but there is vinyl available at most hobby stores as well — FYI, the Cricut brand is easier to use with the Easy Press). We wanted to just keep it simple, so I used white.
- Cricut Easy Press (again, you could use an iron — but the easy Press makes it SO much easier, fo. real.)
Of course, I also needed a trip planned by Get Away Today… but that kind of goes without saying since I’ve used them since 1998. 🙂
A few tips when making bulk shirts:
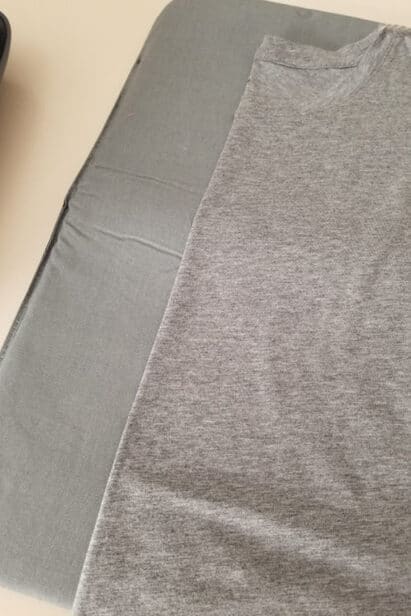
With the Easy Press they recommend pre-pressing the shirt for 5 seconds, which I do. Then, I fold it in half and press it again for 5 seconds to give me a midline to line the item up on.
Then, I 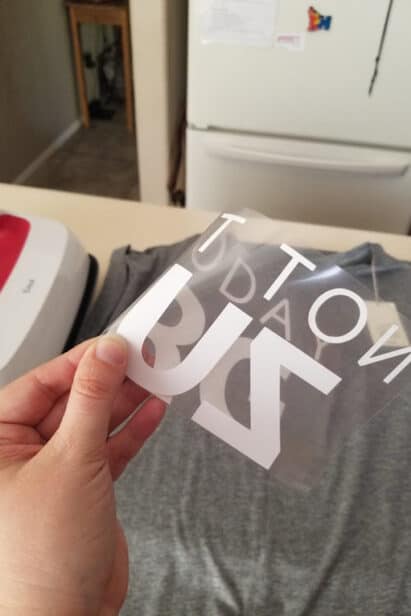
Fold the iron on material in half (using the words to find the midline, not the transfer tape). Lightly pinching it to show you where the midline is (fold it un-sticky side to unsticky side so the vinyl doesn’t stick to itself — I mostly pinch the transfer tape, not so much the vinyl).
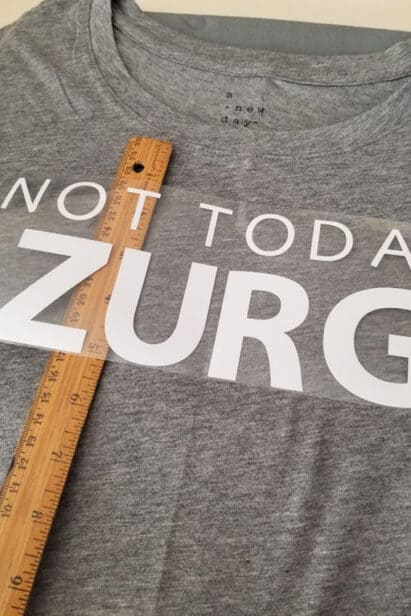
I used a ruler to make each shirt about 1 inch down from the neckline.
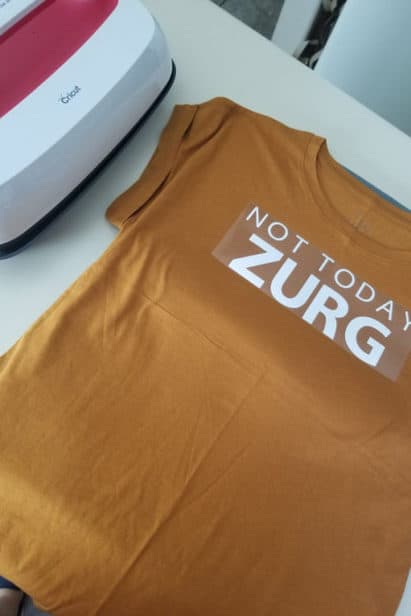
Then, iron on.
A note on using the Cricut Easy Press with Modal Fabric
FYI, these shirts have Modal fabric — which is apparently some hybrid cotton that, as far as I could read, would put us on par with Rayon. I used the Rayon instructions to do the pressing. They’re nice shirts (from Target) but that was a little confusing. I guess you can create a sheen if you iron on with Modal too long/high temp.
Btw, if you thought Zurg would be SO excited to see our shirts, you’d be wrong….
Ok now that we’ve seen mine — let me share a few other ideas:
I loved how my friend Katie did something really simple with her Disney shirt.

She even has a video that she shares about how she did it!
If you have a Dory lover this shirt from See Lindsay is for you!
I like how this one uses paint & freezer paper vs vinyl.
I like the silhouette idea from J Crafters.
A super idea for Wall-E lovers.
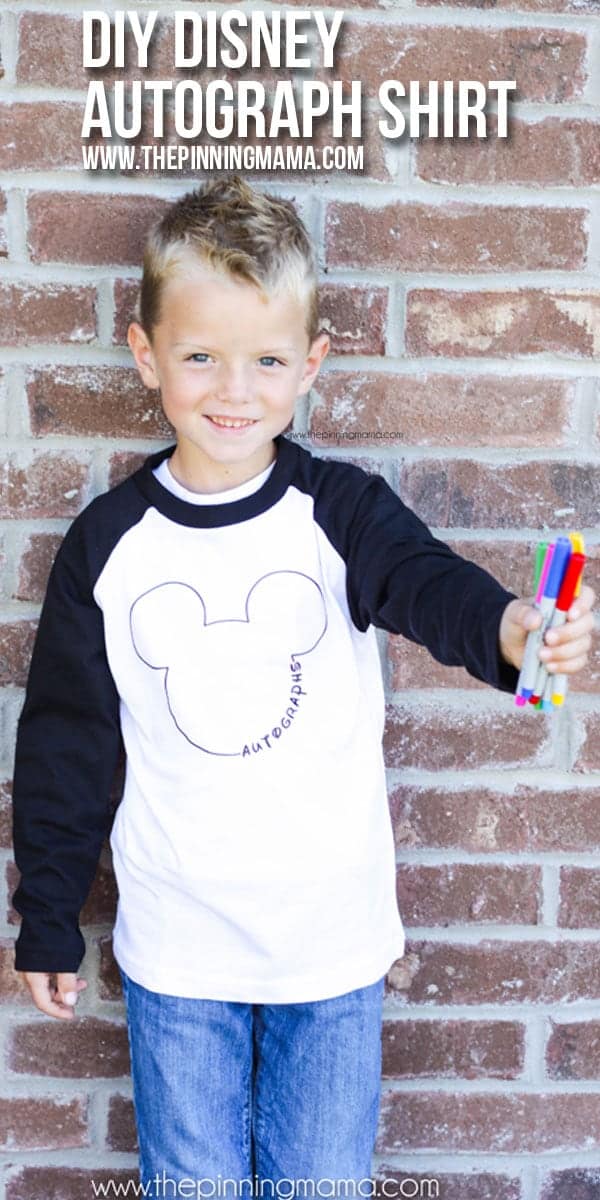
I LOVE this autograph shirt idea from the pinning mamma! Beauty in the Mess has one similar as well!
Love how you can have a THEME like Play Party Plan, but they’re not all the same! That one’s with the Lion King and this one is Beauty and the Beast themed.
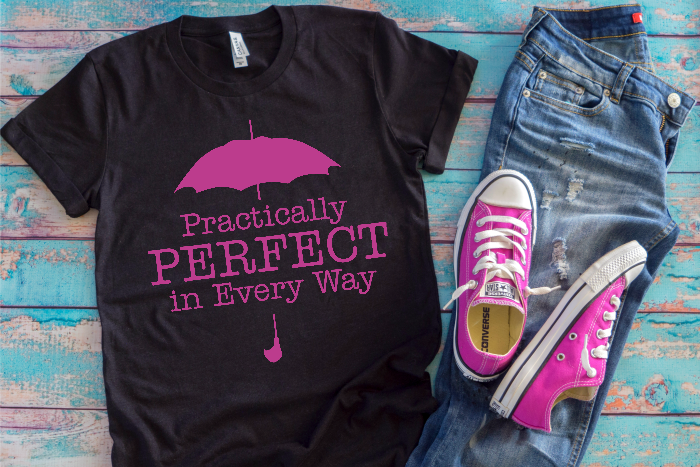
I can’t even talk about how much I love this Mary Poppins one from the Love Nerds (she’s a huge favorite of mine) — if it hadn’t wasted a fair amount of vinyl I would’ve tried this, maybe on my next trip!
They also have a great Avenger’s shirt as well
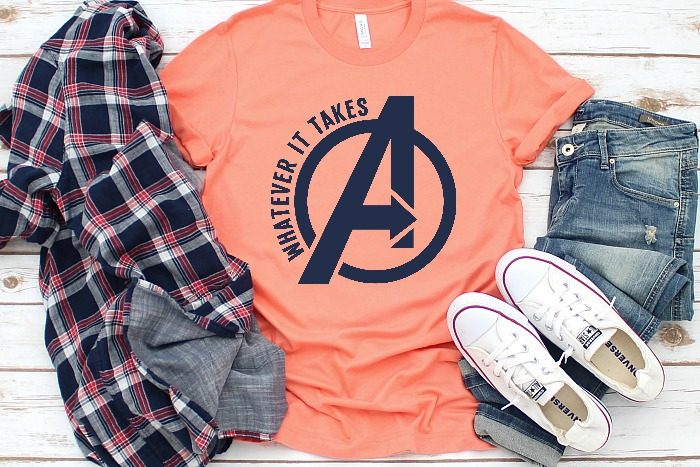
I love these Carsland Themed Halloween shirts (great, since this year the halloween party will be there!) from Crazy Good Life
And, in case you’re CRUISING Disney — check out this cruise-themed one!
Be sure to grab my Disney packing list (so you can have more than just shirts in your suitcase) and check out my other Disney posts below that:
[pt_view id=”d498c1b099″]



Leave a Reply