Organizing can be overwhelming but it can also be fun. If you’re like me you know labels make everything better. You’re going to love these organization labels with Cricut Joy Smart Materials.
Disclosure: This is a sponsored conversation written by me on behalf of Cricut. The opinions and text are all mine.
Spring cleaning is in full effect at my house. As I’ve been organizing I’ve realized there are things that would be much more useful labeled. Enter organization labels with Cricut Joy Smart Materials!
Labels help keep things organized and functional:
I am a huge fan of everything having it’s place. It can be frustrating when people don’t put things back where they belong.
An easy way to prevent that from happening is with labels. Labeling boxes and bins, even shelves makes it easy for everyone to know where things belong.
Spice top labels
The first thing I decided to tackle was my spice drawer. Since I store my spices in a drawer the labels on the container aren’t helpful.
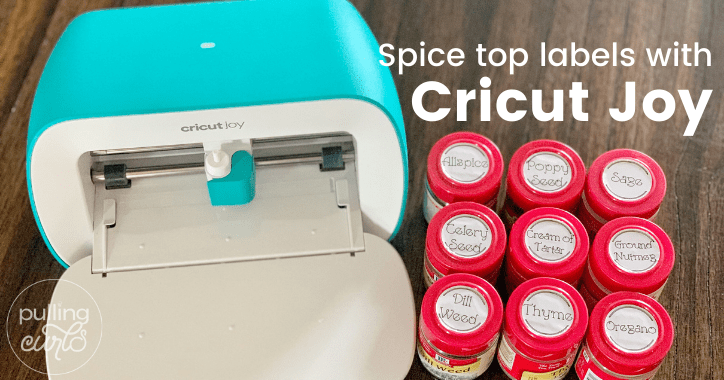
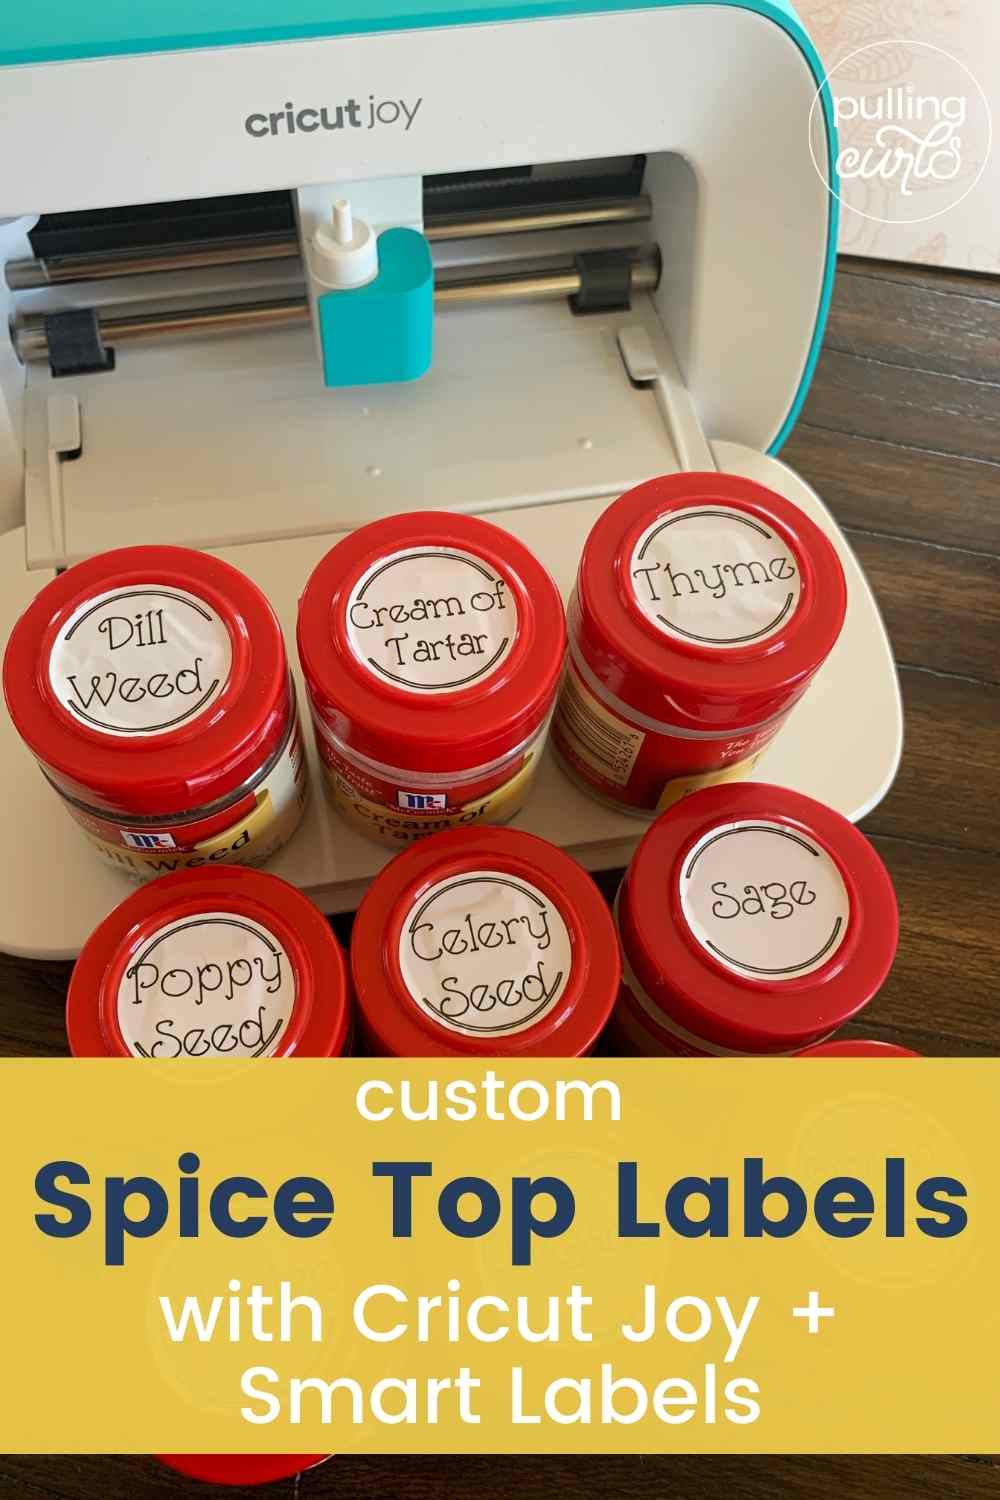
Using my Cricut Joy, White Smart Labels, and Cricut Pens I was able to create labels for the tops of my spices. Using my Joy was perfect because I could create the labels I needed for my actual spices.
Having the lids labeled makes finding the right spice easy without having to check every one of them.
You know my requirements for projects. I want them to be useful and not a lot of fuss.
Creating labels with Cricut Joy is so easy. The smart materials allow you to cut without even needing a mat.
GUYS. I just LOVED this machine. And when I say loved, I mean I want to marry it. It is SO easy to create these labels and not swear a lot. I’ve done the rounds with my Cricut Maker before, but if you’ve felt like that was just too much — I would encourage you to give the joy a look. I love it!
I created my labels using images in Design Space — it is SO easy with the Joy. Guys — can I SAY THAT ANY MORE. It really has it’s name for a reason. 🙂
To create spice labels like mine you’ll need the the following supplies:
Cricut Joy + fine point blade
Smart Labels White
Cricut Joy Extra Fine Point Black Pen
Spices Cut File
Quick note; Cricut Joy comes with a 0.4 Fine Point black pen. For these labels I used the 0.3 Extra Fine Point black pen. You can use the pen that came with your machine but be aware it will be a little thicker.
Creating spice top labels:

To create your spice top labels you’ll need to do the following:
Open the Spices cut file linked above in Design Space. To do this, click the link and allow the file to open Design Space on your device. Once it’s open you will need to select edit and check the size.
You want to make sure the labels will fit inside any ridges the lid to your spices might have. The file included is sized for McCormick brand flip top spices.
Once you have your sizes set click “Make It”. Following the prompts on the screen you will select that you’re using a smart material and then choose “Smart Label”.
When prompted load your Smart Label material into the Joy by sliding the material under the roller. No mat required for Smart materials. Joy will sense the material and pull it in. It will measure the material to make sure you have enough for the cuts.
I recommend not cutting your material prior to loading into the machine (because this is something I would totally do) if you can avoid it. You don’t want to risk cutting it too short and your machine rejecting it.
Follow the prompts on the Design Space screen. First it will tell you to load your pen into the machine. Unlike the Maker and Explore machines you do not have to push your pen down (this caught me off guard and I spent some quality time pushing down) Just put it in the carriage and then close it.
You will then click go on your device or computer and it will start drawing. Don’t be alarmed, it will bounce around while drawing. In the end everything will be as it looks on your screen.
When it is done drawing it will prompt you to switch to the blade. Open the carriage, remove then pen, and insert the blade. Click go on your device and it will begin cutting.
Once you have all your images cut out you’re ready to add the labels to the spices.

I recommend wiping down the top of the spices real well and then wiping them down again with rubbing alcohol. Allow to dry completely before applying the label.
Because these labels are basically a sticker, Transfer Tape isn’t required for applying. Trim your smart label and then weed out the excess leaving you just your spice top labels.
DO NOT, I repeat DO NOT leave the extra vinyl on the sheet, as it makes it REALLY hard to peel the stickers off. So, peel that outside stuff off, and then get the stickers off.
You can pick them up on the edge with your fingers and then taking your time center them onto the spice top and press down firmly all the way around.
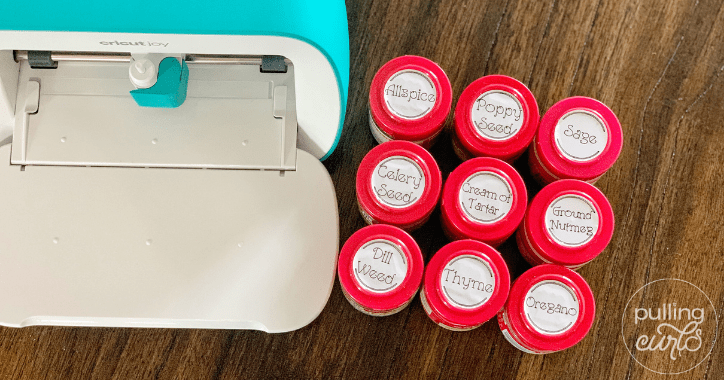
Didn’t they turn out great? A quick and easy project that has made finding the right spice – quick and easy!
Once I finished the Spice labels I was hooked. I decided to create a functional and pretty place for my Oxiclean.
Oxiclean Storage Label Supplies:
Cricut Joy + Fine Point Blade
Smart Vinyl
(you can use Permanent or Removable depending on your needs)
Transfer Tape – Standard Grip
Oxiclean Cut File
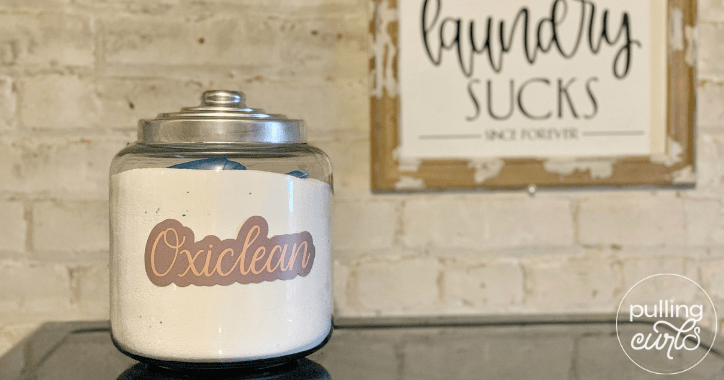
Create labels with Offset!
I love Oxiclean, I really dislike the big box that it comes in. It can’t really be closed back up after it’s opened and tends to make a mess.
To solve this problem I grabbed a cute air tight container and my Cricut Joy and got to work.
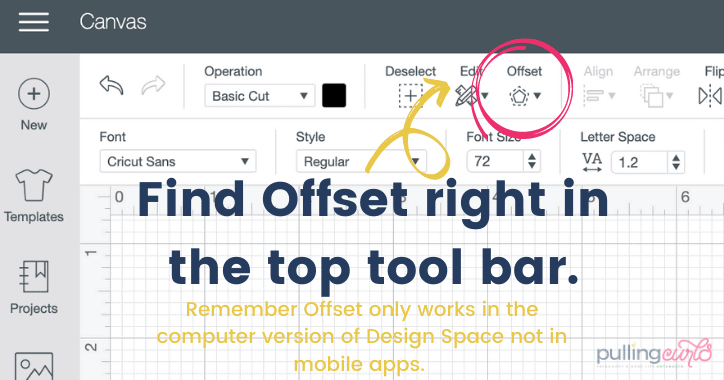
I created this label using the new Offset feature in Design Space. Offset makes creating labels like this so easy. Type out your text how you want it and then click “Offset” in the top tool bar. Just like the curve text feature you need to be on a desktop or laptop to use the Offset tool. You can easily adjust how thick or thin you want your background (offset) layer.
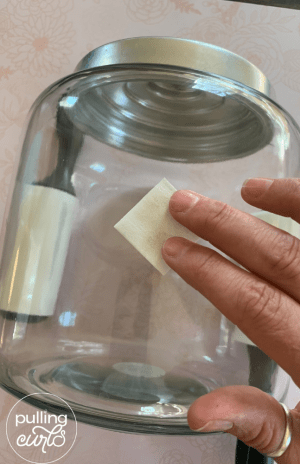
Just like the spice labels you want to make sure your surface is clean. Clean the surface with a lint free cloth and then wipe it down well with rubbing alcohol. Allow it to dry completely before applying vinyl.
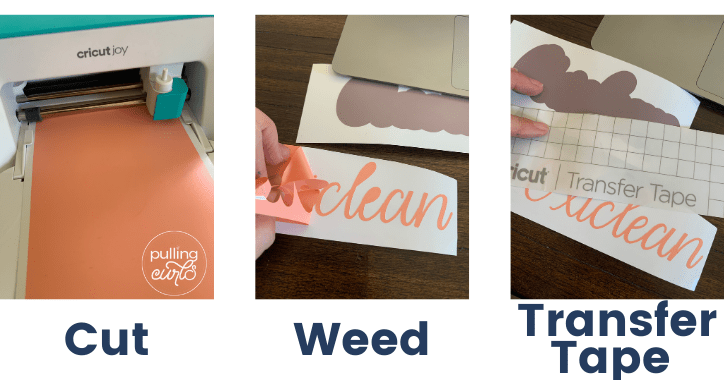
Open the file above in Design Space and size to fit your container. Cut out with your Cricut Joy. I used Smart Vinyl – Removable. I really liked these colors and since this isn’t something that will be handled or washed regularly removable should last just fine. You can use Permanent if you’d like, this was mostly a color preference.
If you choose to use Permanent Smart Vinyl be aware it can be temperamental to remove from the backing. This usually is an issue with small cuts. Here are two tips I’ve found for making it easier:
After cutting and wedding, apply Transfer Tape, burnish both front and back and let it sit for about 10 minutes. For some reason allowing the vinyl to sit after applying the Transfer Tape makes it easier to remove from the backing.
If you don’t want to wait you can also apply heat to the backing. Applying heat with a blow dryer for 15-30 seconds helps release the adhesive from the backing.
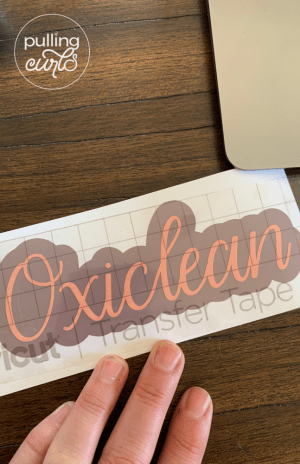
I like to apply my top layer (Oxiclean) to the background (offset) before applying to the surface. This is really helpful when dealing with a curved surface. Lining the layers up on a flat surface is much easier than on the item itself.
I have basically been waiting my whole life for this offset tool, I am SO glad Cricut was able to make it happen recently!
Applying vinyl to curved surfaces:
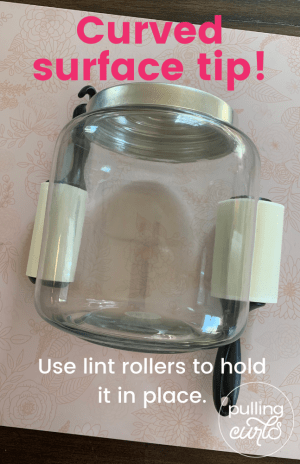
This might be my favorite tip ever for applying vinyl to curved surfaces. Using 2 lint rollers (you could probably use one if you don’t have 2) stick the lint roller to your surface and what you’re applying the vinyl to to hold it in place. It won’t roll away from you!
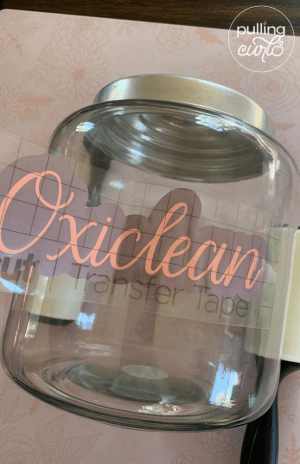
With your vinyl already layered on a flat surface, remove backing and apply to your clean surface. I like to find the center and then roll out each side making sure to go slow and push out any air bubbles.
Remove Transfer Tape and you’re done! It would be fun to make coordinating canisters, bins, and spray bottles for all your laundry room supplies.
Pantry/Shelf labels with Cricut Joy Smart Vinyl
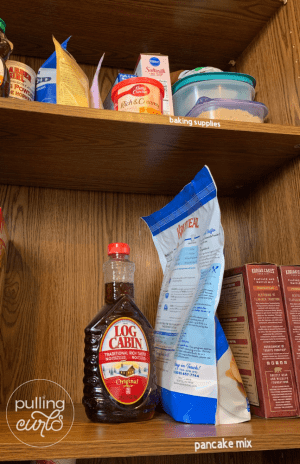
This last labeling project might just be my favorite. Keeping the pantry organized is easier than ever with the shelves labeled. Everyone knows exactly where things belong when they unload the groceries.
Why is this my favorite labeling project? I no longer have to go back into the pantry to rearrange everything after someone else puts groceries away!
To create simple labels for your pantry shelves or any shelves grab the following supplies:
Cricut Joy + Fine Point Blade
Smart Vinyl – Permanent
(If you think you may want to change your labels try Smart Vinyl – Removable. It’s not as durable as Permanent so you don’t want to have it in a high touch area. The great thing about Removable vinyl is it can be removed for up to two years without leaving behind a residue.)
Transfer Tape – Standard Grip
Pantry Label Cut File
How to make pantry/shelf labels with Cricut Joy Smart Vinyl
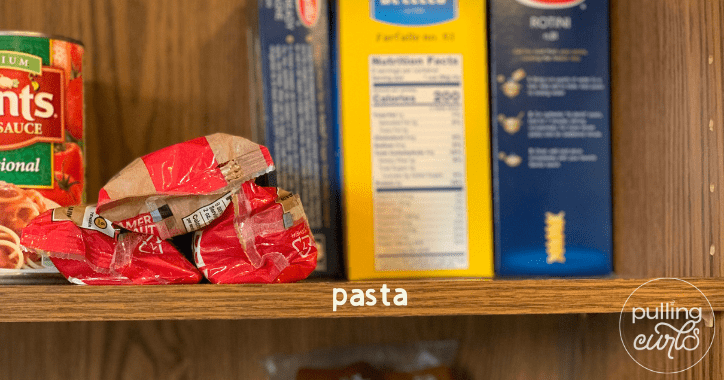
To create these labels you’re going to follow the same steps as the laundry label except you don’t need the background layer.
For my pantry shelves I chose to not use a script font. I like how easy you can read these labels. They look nice and clean and not distracting.
Just like with the laundry label make sure your surface is clean and dry. Remember the tips I shared above about working with Smart Vinyl – Permanent. It can be tricky, especially if your letters are small. My recommendation is to plan on it being difficult and you may be pleasantly surprised when it isn’t.
Use Standard Grip Transfer Tape to apply the vinyl to your shelf just like you did with the laundry label.
Another tip about working with Permanent Vinyl – it needs to cure for at least 24 hours. This means you need to apply your vinyl and then leave it alone for at least 24 hours. Don’t clean it, don’t even touch it. Just let it sit so the adhesive can adhere to the base.
Now that you’ve learned how to make organization labels with Cricut Joy Smart Materials what are you going to label?
As I was looking for label inspiration I came across a post from CreativeHousewives.com. Using their Cricut Joy and Smart Materials they created labels for everything back to school. Learn more about Smart Labels and Smart Iron-on here.
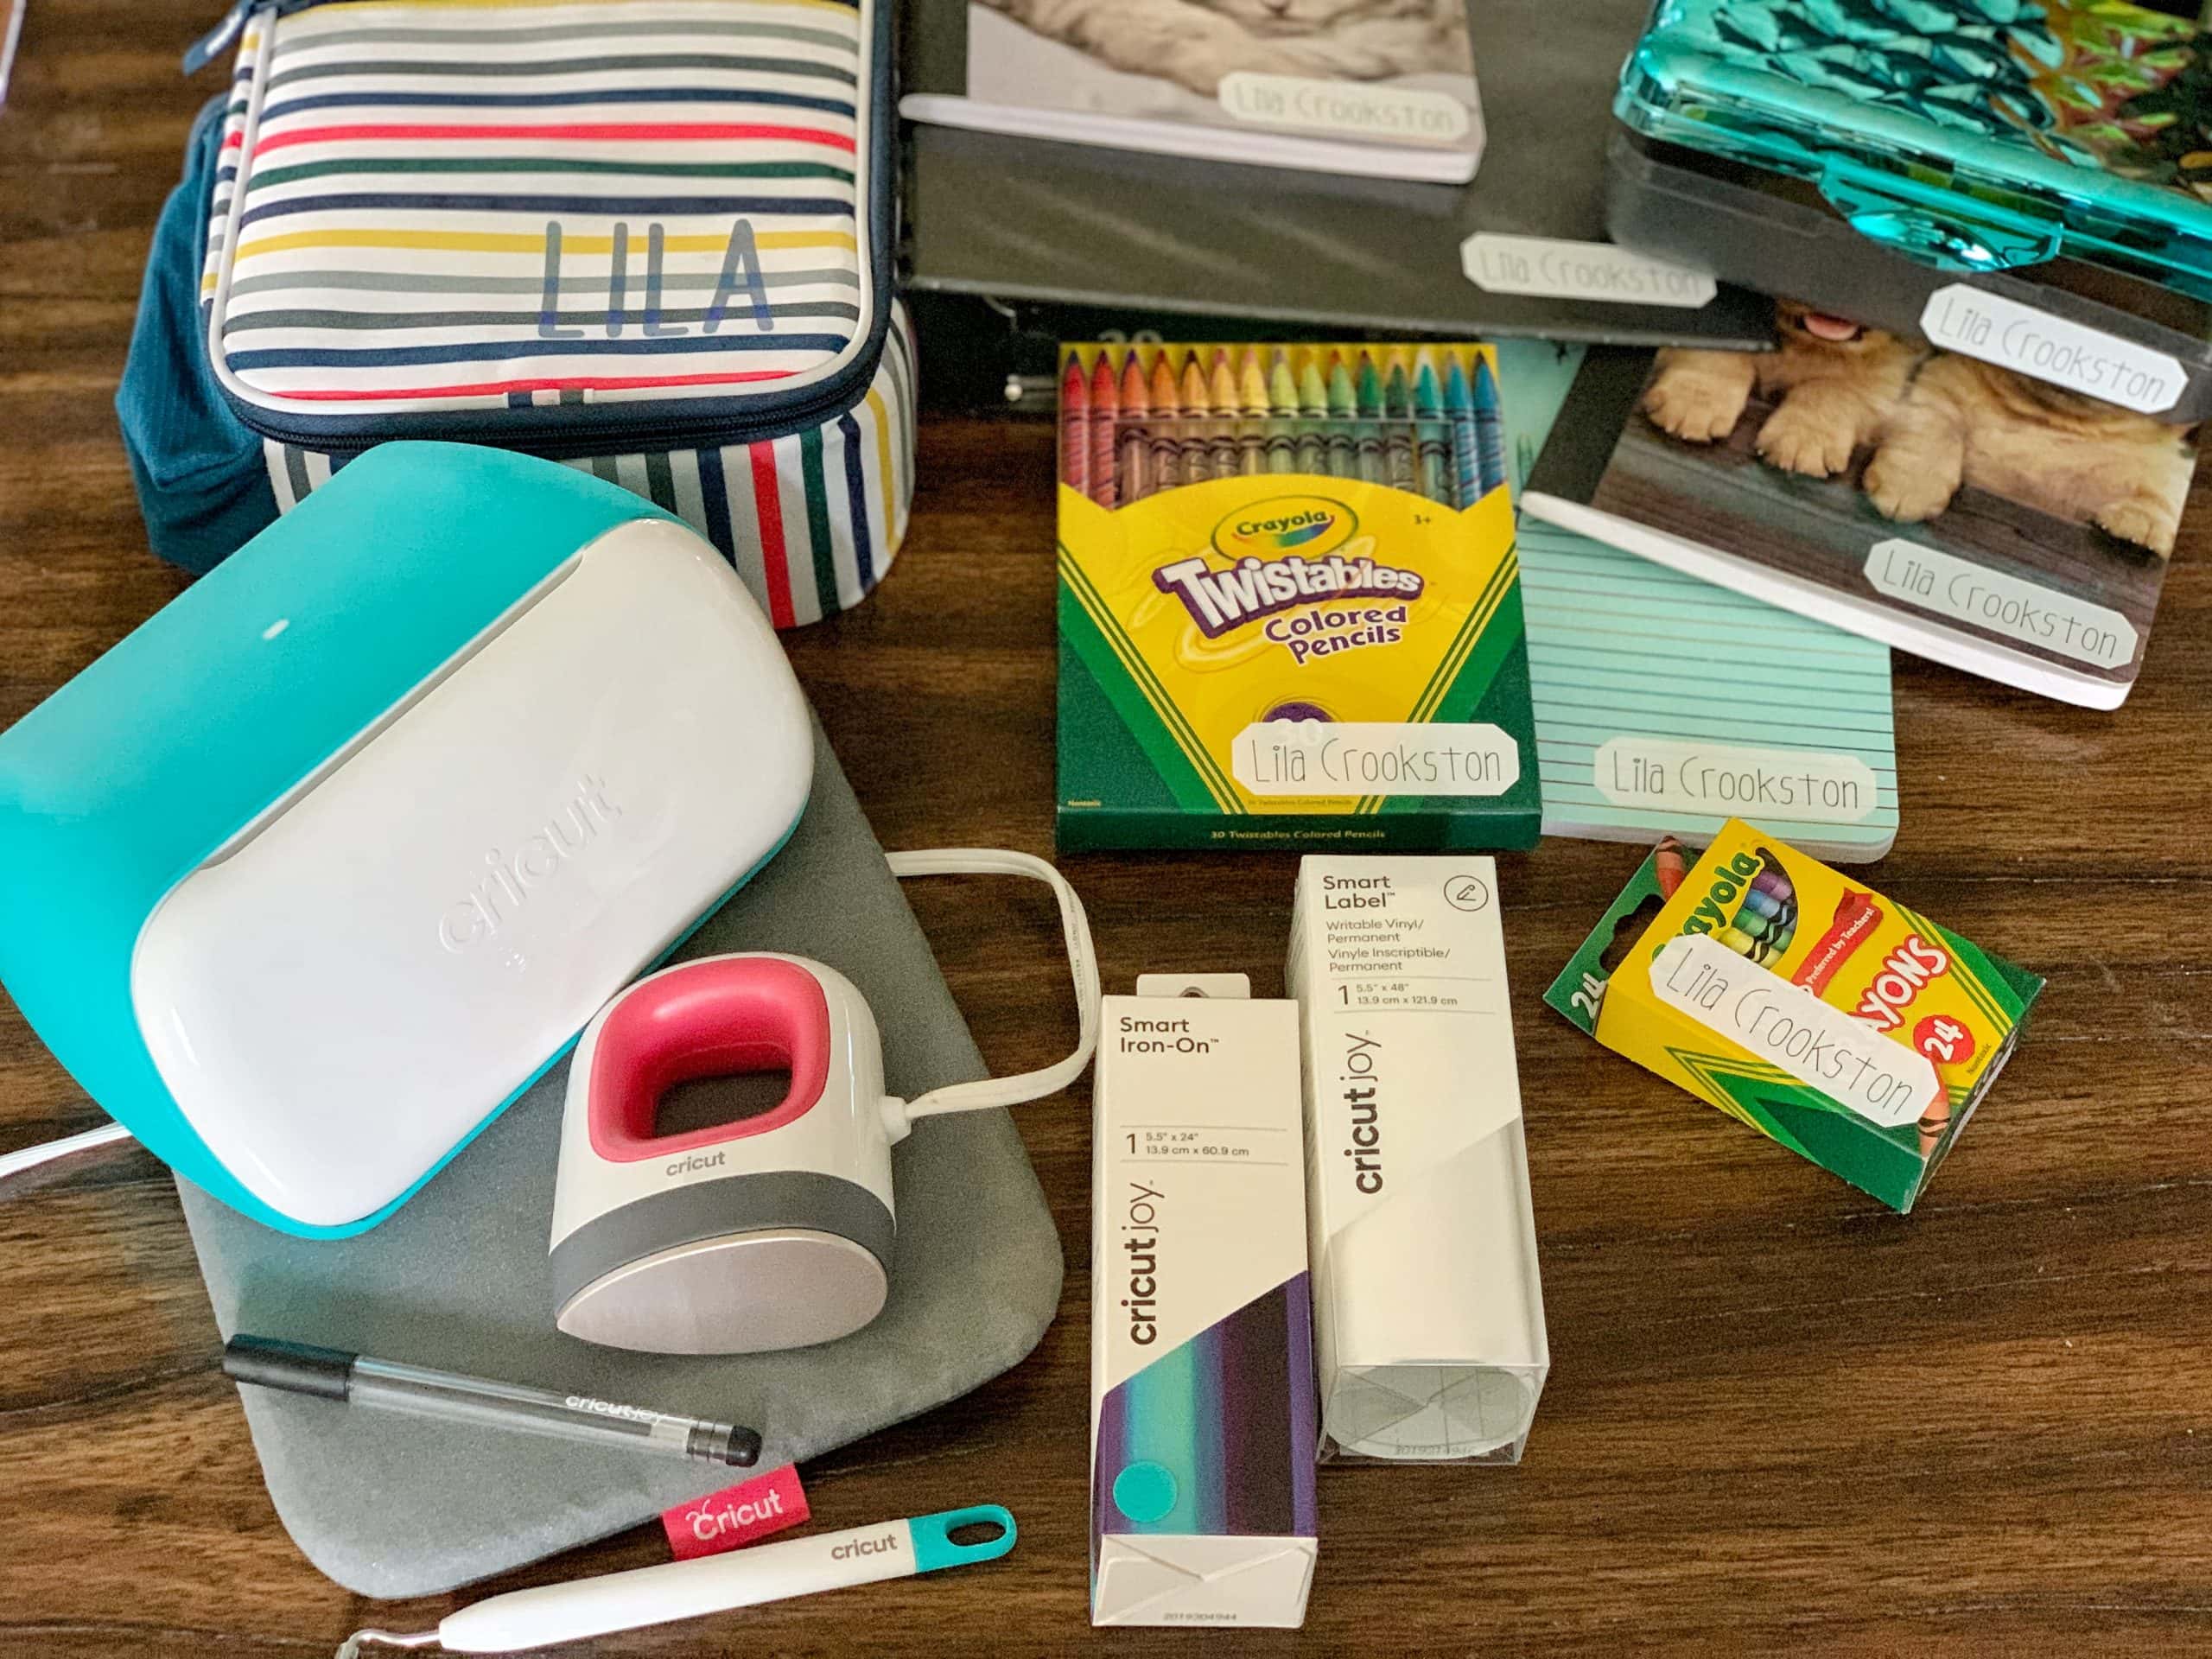
Guys, I can NOT tell you how much I loved working with the Cricut Joy. Every time it has been a breeze. I’ve already done more bins in my pantry, and even in my garage (and with temps already up into the 90’s they’re sticking tight, which is AWESOME). For my next project, I think I have a laundry soap container that is looking a little sad. What would you like to label with the Cricut Joy? Tell me in the comments!



Leave a Reply